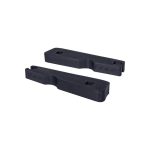
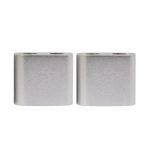
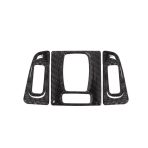
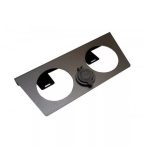
Interior
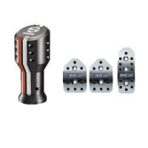
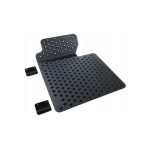
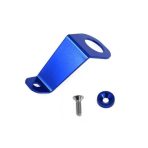
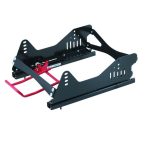
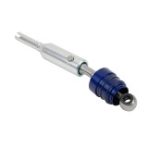
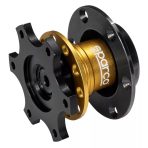
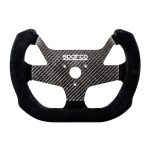
Our Interior category focuses on cockpit upgrades for racing and road cars: seats and brackets, harnesses, steering wheels and quick releases, pedal and shifter add-ons, gauges, switch panels, as well as carpets and acoustic solutions. The range emphasises function, ergonomics and durability so your cabin feels solid and confidence-inspiring on track days and during daily use alike.
Brief summary & key benefits
Upgrading the interior is about making the driver faster, more precise and comfortable while keeping the cabin solid and rattle-free. Our range covers the full cockpit ecosystem: seating and harness systems, steering, instrumentation, storage and cable management, trims and acoustic materials. It blends motorsport-grade robustness with daily practicality.
Technical Basics
Seats come as tubular frame, composite or carbon shells; brackets are typically steel or aluminium. Common steering patterns are 6×70 mm and 6×74 mm PCD, paired with the appropriate hub and quick release. Harnesses usually use 2" or 3" webbing; correct routing, anchor positions and shoulder angles are critical for dependable performance.
For instruments, pay attention to senders, shielded wiring and high-quality terminals. Protect looms with sleeves, clips and trays to avoid chafing. Trims, carpets and damping sheets reduce vibration and noise while keeping a clean look. Typical pitfalls include mismatched PCD, loose fasteners and poor wiring that eventually causes intermittent faults.
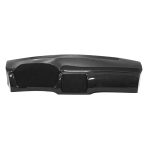
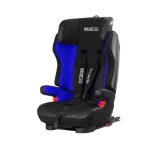
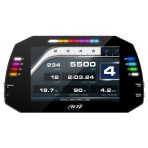
For lap timers, navigator accessories and dash displays, ensure stable power, good grounding and vibration isolation. Child seats and road-oriented accessories have different requirements; always verify mounting points and load capacity for your vehicle. Classic builds also benefit from carbon panels, dash add-ons and strong trim clips.
Selection Criteria
When choosing a seat, consider shoulder width, shell depth and driver height. Side-mount brackets offer rigid, highly adjustable positioning; base mounts can be convenient in road cars. Steering diameter (320–350 mm) and rim thickness influence feedback—smaller wheels feel quicker on track, larger ones add comfort on the road. For quick releases, check PCD, material quality and any perceptible play.
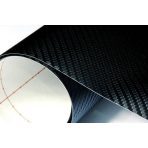
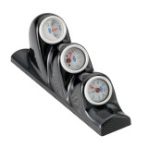
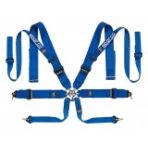
Harness choice depends on use case: for drift or track days focus on lap and sub-strap geometry, buckle ergonomics and shoulder padding. For gauges, match sender type (analogue/digital) and ensure visibility without obstructing the driver’s view. Interior wraps, decorative pieces and carbon sheets give a lightweight refresh, while carpets and damping reduce noise during long drives.
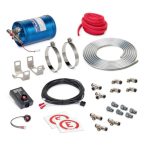
For storage mounts, radio brackets, navigator gear and fire-extinguisher holders, accessibility and mount stiffness matter most. In vibration-prone areas, a suitable threadlocker may help—always follow manufacturer guidelines.
Installation & Maintenance
Start with a mock-up: set seating position, steering reach and pedal spacing. Follow recommended torque values for seat and bracket hardware, use quality washers and verify mounting point stiffness. With steering wheels, confirm the PCD and bolt length; a good quick release should be play-free.
Inspect harnesses for wear, fraying and loose anchors. Route wiring with vibration-resistant clips, protect over sharp edges and keep grounds short and clean. Vacuum carpets and damping panels regularly, and check adhesive edges. For instruments and displays, run periodic self-tests and update firmware when available.
FAQ
Q: Which steering PCD fits my setup?
A: The most common are 6×70 and 6×74 mm. Check the hub/quick-release specifications and only combine compatible parts.
Q: Should I choose 2" or 3" harness webbing?
A: 2" often pairs well with modern shells; 3" spreads loads over a wider area. Pick based on your intended use and comfort.
Q: How do I reduce cabin noise?
A: Layer sound-deadening and thermal sheets on key panels (floor, firewall, boot), then finish with carpet and trim for best results.
Q: What should I watch when installing gauges?
A: Stable power, correct fusing, vibration-proof mounts and the right sender placement. Avoid tight bends and long, daisy-chained grounds.
Q: Where should the fire extinguisher go?
A: In a spot that is reachable and secure without obstructing pedals or belts; inspect the mounting regularly.

