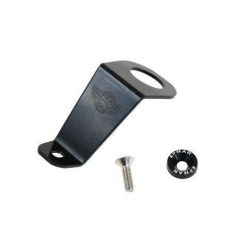
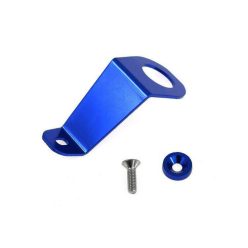
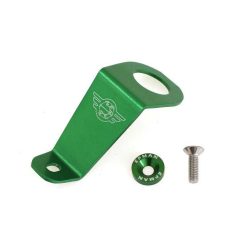
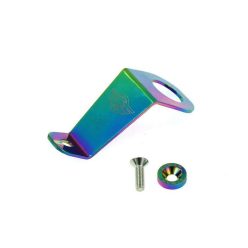
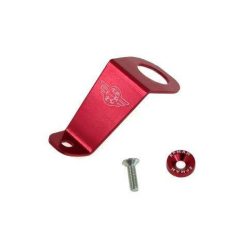
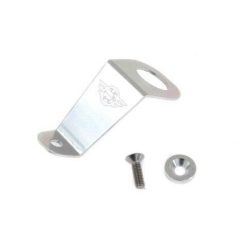
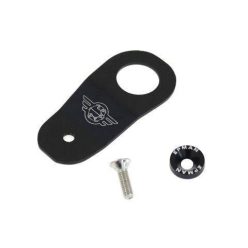
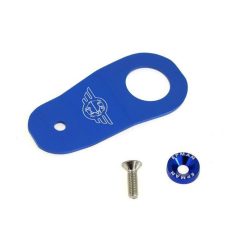
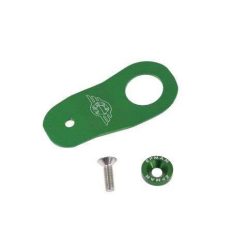
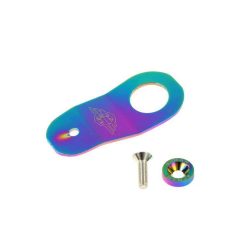
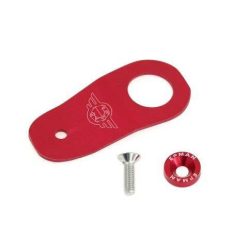
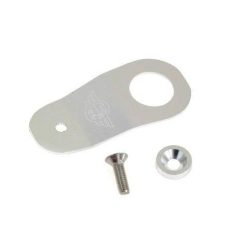
Our radiator brackets (radiator stays) are lightweight, anodised aluminium upgrades, commonly for Honda Civic 1992–2000 (EG/EK) fitments in multiple colours. Kits include the necessary bolts and washers for an easy swap over the OEM stay. Featuring brands like MTUNING, choose by colour and model year to keep the radiator securely mounted and minimise vibration.
Brief summary + key benefits
Radiator brackets secure the upper mounting point of the radiator, reducing movement and improving durability. Anodised aluminium stays are light yet stiff and offer better corrosion resistance than many stock steel parts. With multiple colour options, they can match your engine bay theme. Popular kits from MTUNING typically include the required hardware for a quick, clean install.
Technical Basics
The stay links the radiator top to the slam panel while rubber bushes allow small vibrations. Quality pieces use anodised aluminium with shaped heads and spacers to suit factory threads. An elongated hole often provides minor adjustment so you can centre the radiator. The anodised finish adds both colour and extra protection against corrosion.
Mind the fan and shroud clearance: over-tightening may distort the core, whereas loose mounting can cause rattles and hose stress. Check the lower rubber seats; if they are worn, the upper stay cannot compensate for the missing damping.
Selection Criteria
Fitment: choose the stay for your exact model year (e.g., Honda Civic 1992–1995 vs 1996–2000). Verify radiator position and slam-panel hole size, as different radiator/fan combos may shift alignment slightly.
Material & finish: look for properly anodised aluminium; it is durable and resists scratches. For winter-driven cars, the finish helps against road salt. Matte colours tend to hide wear better than gloss.
Rigidity & weight: the aim is to prevent radiator sway. Slightly thicker sections improve stiffness while keeping mass low. Track cars benefit from stiffer parts and stainless hardware.
Hardware: ensure the kit includes correct-length bolts and washers. Too-long bolts can bottom out; too-short ones reduce thread engagement. If no torque is specified, use typical values—about 8–10 Nm for M6 and 18–22 Nm for M8—while prioritising the manufacturer’s spec.
Installation & Maintenance
Test-fit the radiator bracket before final tightening. Loosen the old stay, align the radiator so the fan clears the shroud, then install the new part. Use a torque wrench and tighten evenly to avoid twisting the core. Check hose strain and spin the fan by hand to confirm nothing touches.
For upkeep, inspect fasteners periodically—especially after a track day or heavy heat cycles. Clean with pH-neutral products and avoid abrasive pads on the anodised layer. Replace tired lower mounts; the upper stay’s life and the radiator’s integrity depend on proper isolation.
FAQ
Does an alloy stay improve cooling?
Not directly, but better stability reduces hose stress and helps reliability.
Will a universal stay fit?
Upper mounting hole patterns vary; model-specific parts ensure proper alignment.
What tools do I need?
A basic socket set and a torque wrench; anti-seize on threads is recommended.
Should I re-torque after driving?
Yes—check fasteners after the first 100–200 km, then periodically.
Is anodising durable?
It adds corrosion resistance; avoid abrasive cleaners to preserve the finish.

