
A turbo gasket and flange is used to match the sealing and mounting points around the turbocharger, including manifold joints, oil and water connections, and related pipe interfaces. It is the right choice when the bolt pattern, sealing face and the exact turbo family genuinely match the selected part.
Verify exact dimensions and specifications on the product card; in-stock items dispatch fast within the EU.
Start by checking the T2/T3/T4/T6 platform or OEM turbo reference, then confirm whether you need an oil or water-side part, followed by flange thickness and bolt-hole layout. To reduce later blow-by and stress, build only with flat faces and a connection path that sits naturally.

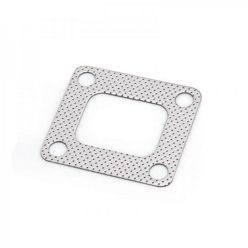

Net price: 2 €


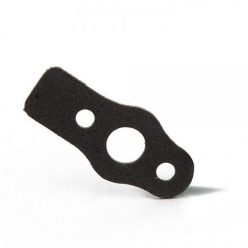
Net price: 2 €
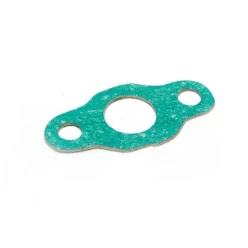
Net price: 2 €
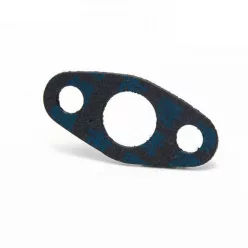
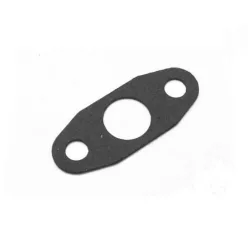
Net price: 2 €
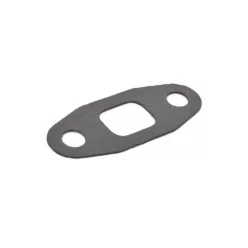
Net price: 2 €
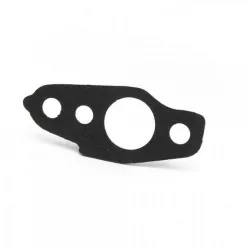
Net price: 2 €

Net price: 6 €
Turbo Gaskets and Flanges – accurate matching for turbo-side connections
Turbo-side sealing parts, oil and water connection pieces, and service flanges are often searched by builders as turbo gaskets and flanges. They work best when bolt pattern, port shape, material thickness and the flatness of the mating part are checked together rather than chosen by name alone.
Technical background and system integration
Sealing face: on turbo connections, the gasket is only one part of the job; flange flatness, fastener position and the loading from the attached part all matter as well.
Flange role: oil feed, oil drain and water-side flanges define the connection geometry, so hole position, thread type and opening shape all influence whether the part is usable for the project.
- Platform: the range includes T3, T4, T6, T25, T28, GT32, GT40, KKK, IHI and Toyota CT references, so identify the part from your actual turbo housing.
- Layered design: several items are listed as 3-layer steel gaskets, which can suit heat-loaded joints, but the exact layer count should always be confirmed on the product card.
- Connection side: it makes a real difference whether you are selecting for manifold, oil drain, oil feed or water-side use.
- Thread type: some flanges use 1/4" NPT or similar thread formats, so the hose or fitting plan should be matched accordingly.
How to choose the right one
Quick selection: first identify the exact turbo family and the function of the connection, then check bolt pattern, and only after that compare opening shape and flange thickness. This removes many parts that look similar by name but are different in use.
Product-card logic: in this category, filters and the product card matter most because a T3 or T4 label alone does not tell you whether the part is divided, undivided, feed-side, drain-side or water-side.
For an OEM turbo, comparing the engine and turbo code is usually a better starting point than relying on a platform label alone. On a custom build, it is often smarter to measure the existing flange or gasket first and only then decide by headline name.
- Bolt map: hole spacing and port outline should be the first things you confirm.
- Flatness: inspect how clean and straight the mating face is on the turbo housing or adapter.
- Passage: check oil and water hole position, not only the external contour of the part.
- Build aim: an OEM replacement and a custom turbo build may need a different gasket and flange logic.
Installation and failure-prevention tips
Clean assembly: before fitting, clean the mating faces, inspect thread condition and do a dry test fit to confirm that the gasket or flange seats without preload. On mechanical joints, an even and gradual tightening sequence usually helps the connection settle more naturally.
Common issue: if a gasket or flange is fitted slightly rotated, against a burred surface or with a hose or pipe pulling sideways, later soot trace, oil mist or local dampness around the joint can point to trouble; in many cases the real cause is poor surface preparation, an inaccurate bolt pattern match or a preloaded connection rather than the part itself. Prevent it by checking flatness, comparing hole positions before assembly and letting the connected line sit in its natural path.
Re-check: after the first heat cycle and initial use, inspect for blow-by marks, oil mist, discolouration or any loosening around the joint.
PRO TIP: On a turbo build, always judge the gasket and flange together with the related pipe, banjo or adapter; that makes it easier to spot when the geometry of the connection, rather than the part, is the real source of trouble.
FAQ
Which detail should I check first?
Start with the exact turbo type and the function of the connection. After that, confirm bolt pattern, port shape and, where relevant, thread size.
What is the difference between a turbo gasket and a flange?
The gasket helps seal between mating faces, while the flange provides the mounting and geometric basis of the connection. In many builds the two work together, so checking only one side is rarely enough.
What is the most common failure or installation mistake?
First make sure the holes line up correctly, the gasket is not overhanging into the passage, and the connected hose or pipe is not pulling the joint sideways. Then inspect surface cleanliness and repeat the check after the first heat cycle for any sign of blow-by or dampness.
Can I use a universal flange on an OEM turbo?
Sometimes yes, but only when bolt pattern, passage shape and the attached connection truly match. For an OEM-style replacement, starting from the flange listed for the exact turbo family is usually the safer route.
How do I know the installation has gone well?
A good result usually shows as a dry joint with no soot trace, no oil mist and no connected line sitting under visible stress. It is worth inspecting the area again after the system has been fully warmed through.
