
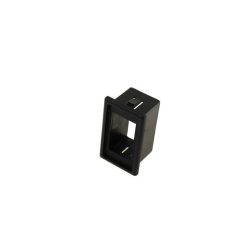
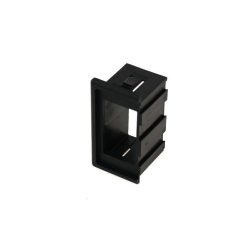
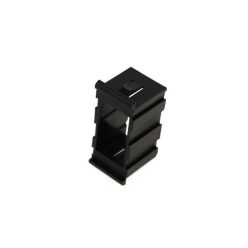
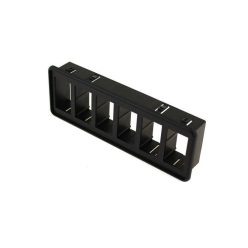
Our Switch Frames & Panels help you mount switches neatly with modular frames, end/middle inserts and universal panel plates. Clean layout improves ergonomics, secures components and reduces contact faults while keeping future expansion simple. Choose 1×, 2×, 3× or 6× arrays to match your dashboard design.
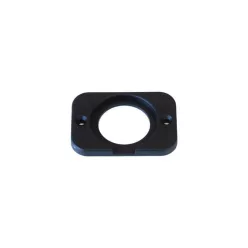
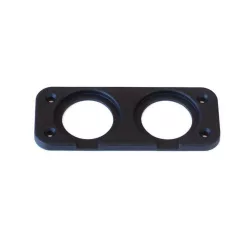
Brief summary & key benefits
Switch Frames & Panels provide a clean, robust way to organise cockpit controls. With modular frames (1×–6×), end/middle pieces and universal panel plates, you can group functions logically, improve ergonomics and maintain a consistent look that survives heat and vibration.
Technical Basics
Common frames target popular switch footprints. A 1× frame holds a single device, while 2×/3×/6× arrays line up multiple units. Snap-in tabs or screws secure the frame; thicker walls and UV-stable plastics suit motorsport use. Proper spacing helps avoid accidental activation, and a raised bezel protects toggles from belts or gloves. Panel plates should follow dashboard curvature; on curved surfaces favour flexible mounting points.
Compatibility hinges on cut-out size and retention tabs. Expect M3/M4 fixings, rivets or snap locks. Add rear strain relief so wiring doesn’t load the terminals; this reduces contact issues during vibration.
Selection Criteria
Layout: decide how many switches sit side by side (1×–6×); keep one spare position for future expansion. Group safety-critical items where reach is best and mis-activation risk is low.
Material & environment: choose matte, heat- and UV-resistant frames to minimise glare and withstand cleaning. Off-road builds benefit from stiffer frames and recessed protection.
Mounting method: screw-mounted frames offer maximum security; snap-in saves time but needs accurate cut-outs. Use washers and thread locker in metal; limit torque in plastics to avoid cracking.
Labelling: use high-contrast text or icons; backlit switches help night operation. Consistent legends reduce errors during stressful driving.
Serviceability: modular frames let you pop out a single switch without dismantling the entire panel; secure looms with clips to leave service slack.
Installation & Maintenance
Isolate power before work. Mark cut-outs with a template; enlarge gradually so the frame fits snugly. Deburr edges and add edging trim. Tighten fixings in a cross pattern with modest torque to avoid warping. Protect terminals with insulation boots and leave gentle loops for movement.
Maintenance: periodically check fasteners, re-torque after heat cycles and inspect for cracks. Clean with mild agents; replace frames that show fatigue, as loose mounting can lead to intermittent contacts.
FAQ
Q: One-piece panel or modular frame?
A: Modular is easier to expand and service; one-piece looks seamless when the layout is final.
Q: What cut-out tolerance should I use?
A: Follow the nominal size and allow ~0.2–0.5 mm clearance; oversize cut-outs cause play.
Q: Are rivets OK?
A: Yes—use countersunk heads on exposed faces to avoid snagging.
Q: How should I label controls?
A: High-contrast text or icons; use colour coding for critical functions.
Q: How do I make the assembly vibration-proof?
A: Short screws, washers, thread locker, and rear strain relief on the wiring.
