
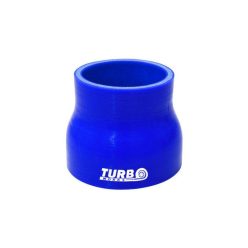
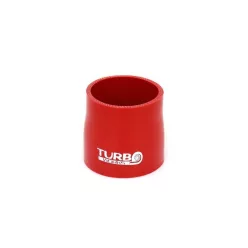
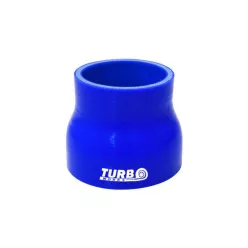
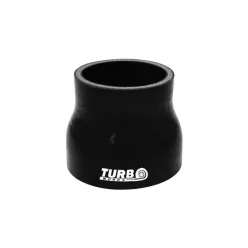
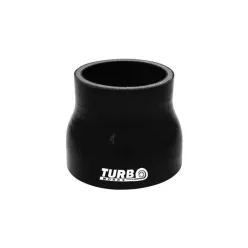
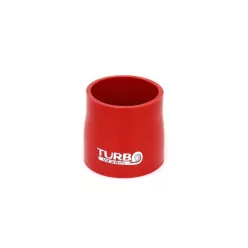
A straight silicone reducer coupler (HU: egyenes szűkítő szilikon idom; also called a reducing hose) connects two different pipe sizes in a straight run when you want a stable transition with some compliance. It’s commonly used in turbo/intercooler charge-air, air and coolant plumbing to help accommodate vibration and thermal movement without forcing rigid joints.
Choose by both IDs, straight leg length and version-specific construction (reinforcement/lining depends on model) so clamps can sit on a proper sealing band. Verify exact dimensions and specifications on the product card; in-stock items dispatch fast within the EU.
Filter by size pair first, then confirm exact dimensions on the product card before ordering.

Net price: 18 €

Net price: 4 €
Net price: 4 €
Net price: 4 €
Net price: 4 €
Net price: 5 €
Net price: 5 €
Net price: 5 €
Net price: 5 €
Net price: 5 €
Net price: 5 €
Net price: 5 €
Straight Silicone Reducer Couplers – Clean Diameter Transitions
A straight silicone reducing coupler (straight silicone reducer; HU: szűkítő egyenes idom) is designed to join two different pipe diameters without introducing a bend. It’s a neat solution when you need a controlled step-up or step-down while keeping the joint slightly compliant, helping reduce stress on sealing faces as the system moves through heat cycles and vibration.
Technical background and system integration
Most straight reducers are textile-reinforced silicone; the exact ply build, wall thickness and any internal lining depend on the specific version. For predictable sealing, look beyond the headline sizes and consider how the coupler interfaces with your pipe ends. Beaded pipe ends can improve retention under clamp load, while burrs, sharp edges or damaged surfaces can mark the sealing band and reduce consistency. In oily charge-air environments, some variants use a lining (e.g., fluoro-lined options), while coolant circuits benefit most from clean mating surfaces and an installation that avoids constant side-load on the joint.
- ID-to-pipe match: each end ID should suit your pipe OD when clamped; check clamp range as well.
- Leg length: enough straight section for the clamp to sit fully on the sealing band, away from the transition step.
- Transition profile: a smoother step can make it easier to maintain even clamp pressure, depending on layout.
- Application medium: charge-air/intake vs coolant vs vacuum; choose compound/lining options as relevant.
How to choose the right one
As this is a LEAF category, start with measurements: record the outside diameter of both pipe ends, then select a reducer with matching IDs on both ends (inch sizes are common; mm can help fine-tune fit), ensuring your clamps cover each assembled OD. Next, check straight leg length so each clamp can sit on a consistent sealing band, and make sure you have tool access for tightening and future re-checks. If you’re comparing straight reducers with elbow-style reducers for packaging reasons, the Silicone Elbows and Reducers parent category helps you line up shapes and size pairs quickly.
- Fitment logic: OD measurement → reducer end IDs → clamp range confirmation.
- Sealing band: place clamps on straight legs, not over the step/transition.
- Pipe-end prep: deburr and inspect; beaded ends can reduce slip risk depending on duty.
- Packaging: leave room for clamp hardware and for periodic inspections after heat cycles.
Installation tips
Dry-fit the pipework so the reducer sits neutral (no twist, no constant side-load), then position clamps centrally on the straight legs for even pressure. After initial heat cycles, a quick visual check can confirm clamp position stayed consistent and nothing is rubbing nearby. degrease using a manufacturer-recommended cleaner, then allow to dry completely before applying load/boost. Avoid petroleum-based sprays and harsh solvents (e.g., WD-40 or brake cleaner) on silicone surfaces, as they can damage the material over time.
If you need a different angle for routing, consider switching to a reducer elbow style to avoid forcing a straight coupler to do a bending job it wasn’t chosen for.
PRO TIP: When joining dissimilar materials (e.g., aluminium pipe to plastic outlet), consider a clamp style and band width that can spread load more evenly across the silicone, depending on access and serviceability.
FAQ
What is the most common failure or installation mistake?
The most common issue is clamping too close to the transition step or installing the coupler under side-load, which can create uneven pressure; typical signs are light weeping at the joint, oily residue in charge-air systems, or a faint hiss under load. Prevent it by choosing adequate leg length, setting neutral alignment first, placing clamps on the straight sealing band, and re-checking after heat cycles.
Straight reducer vs reducer elbow: which one should I pick?
Choose a straight reducer when the run can stay straight and you only need a diameter change, as clamp placement and access are usually simpler. Choose a reducer elbow when routing requires a direction change or packaging constraints would otherwise force a straight coupler into twist or bending.
How do I size it correctly?
Measure the OD of both pipe ends, then select the reducer by both end IDs so it grips properly when clamped. Confirm straight leg length for clamp seating and check the product card for the exact dimensions and any version-specific construction notes.
Which clamp type works with silicone reducers?
Depending on access and duty, worm-drive, T-bolt or constant-tension clamps can work well; prioritise even pressure and correct size range on both ends. Stainless clamps are useful in wet environments, but ensure band edges won’t cut into the silicone and that the clamp sits fully on the sealing band.
Quick diagnostic checklist
Confirm both pipe ODs, both reducer IDs, clamp ranges, and enough straight leg for secure seating. Inspect pipe ends for burrs/sharp edges, check clearance to moving parts, and verify the coupler sits neutral once everything is tightened.
