
A segmental exhaust flex pipe (segmental flex pipe) is an exhaust connector designed to follow a custom bend or lateral offset more precisely than a conventional braided flex section, which makes it useful when the exhaust route is not running in a straight line.
The right option depends mainly on pipe diameter, segment length and material; this category typically includes 51-93 mm sizes, 200 or 300 mm segment sections, plus 409SS and other stainless versions. Before welding, always confirm the overall length and end clearance, because an over-stressed installation can load the weld area later.
Use the filters by size, then open the product card to check exact overall length, material and dimensions. Verify exact dimensions and specifications on the product card; in-stock items dispatch fast within the EU.


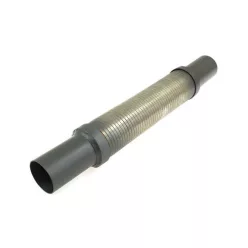
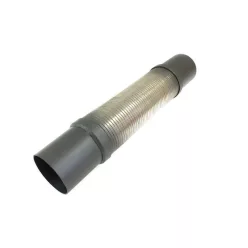


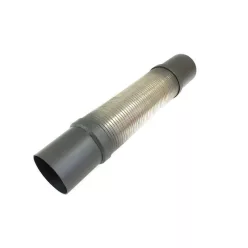
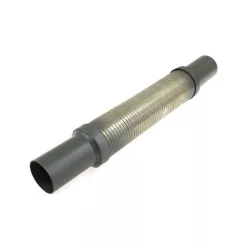
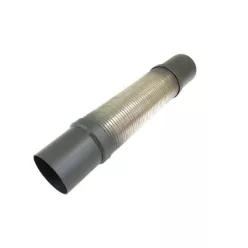
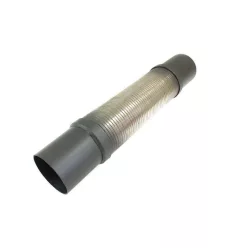
Segmental exhaust flex pipes: for custom exhaust bends and offsets
Known by many builders as a segmental flex pipe, this type of exhaust connector suits projects where the system needs more than simple movement absorption and must also follow a bend or lateral offset. Because of that, the correct choice is shaped by overall length, material and installation geometry, not by nominal diameter alone.
Technical background and system integration
Segmented construction: These parts are built from multiple interworking sections, so they can follow a custom exhaust path more naturally than a fully rigid insert. That can help when the system has to clear crossmembers, heat shields or nearby hardware.
Material choice: The category includes 409SS and other stainless versions. It is better to choose by intended use, surrounding conditions and the material strategy of the rest of the exhaust rather than by price alone.
Installation geometry: A 200 mm or 300 mm segment section does not only change length; it also influences how the part follows the required bend or offset. For that reason, the overall length shown on the product card matters just as much as the segment length itself.
Movement control: A segmental pipe can help reduce the chance that engine and exhaust movement concentrate at one rigid point. Even so, it does not replace proper hanger planning, so the full system support layout still needs attention.
- Size: This page typically covers diameters around 51, 57, 60, 63, 70, 76, 77, 89 and 93 mm, so start from the real pipe measurement on the car.
- Length: Alongside the 200 or 300 mm segment section, the overall length can vary with end design, so check that figure separately on the product card.
- Material: Choosing between 409SS and other stainless versions should reflect the build environment, budget and the material mix across the rest of the exhaust.
- Clearance: The bend itself is not the only concern; welding access, nearby tubing and the distance to adjacent hardware also affect how cleanly the part can be fitted.
How to choose the right one
Size check: Start by confirming the real pipe diameter according to your system layout instead of relying only on an old order name or memory. In exhaust fabrication, even a small diameter mismatch can change the weld gap and the full route.
Length logic: For a smaller offset or shorter transition, a shorter segment section may be the cleaner starting point; for a longer transition or more involved reroute, a 300 mm version may suit the plan better. The final decision should still be based on the combination of overall length and desired bend.
Filters and product card: Use the category filters by size first, then open the selected item to confirm overall length, material and availability. If the planned route needs both a bend and a lateral shift, make a wire or cardboard template first and only then lock in the final length.
Installation and failure-prevention tips
Test fitting: Before welding, it helps to place the full section in position with tack welds or temporary support and inspect how it sits with the exhaust resting on its hangers. That quickly shows whether the segmental part is sitting naturally or already carrying preload during assembly.
Common issue: If the segmental pipe is welded in with slight twist or lateral preload, early heat cycles may bring metallic resonance, soot marks around the weld area or visible pull on the neighbouring sections. This can often be reduced by fitting the part in a neutral position, spreading tack points in stages and only closing the weld once the final route is confirmed.
Welding sequence: It is usually better to build the welds in a balanced order so heat input does not pull the pipe more than necessary. The finished result is influenced not only by the part itself, but also by hanger condition and the behaviour of the rigid sections around it.
PRO TIP: Before cutting the final tube section, mark the intended centreline on the floor or on a simple template; it becomes much easier to judge whether the chosen segmental part will really produce the route you want.
Frequently asked questions
How is a segmental exhaust flex pipe different from a conventional braided flex section?
A segmental version is often chosen to follow a custom route or lateral offset, while a braided flex section serves a different type of movement management. Because of that, the two options do not always replace one another directly.
Should I choose a 200 mm or 300 mm segment section?
That depends on how much bend, reroute or lateral shift you need to achieve within the available space. In tighter packaging a shorter section may be easier to position, while a longer section can be a better starting point for a longer transition.
What is the most common failure or installation mistake?
Follow a simple check order: confirm real pipe size and overall length first, then inspect whether the route sits in a neutral position, and only then review welding access and hanger condition. If the pipe has to be pulled into place, it is worth repositioning before final welding.
How should I choose between 409SS and another stainless version?
The answer depends on the build environment, the material strategy of the rest of the exhaust and the cost target of the project. The safest approach is to read the material note on the product card together with the rest of your system plan.
How can I check that the selected part will physically fit?
Measure the available straight and curved space, review welding torch access and then check distances to braces, heat shields and hangers. That quickly shows whether diameter, overall length or route shape is likely to be the main limitation.
