Open intake heat shields: what to check before ordering
An open intake heat shield needs to be assessed as part of the complete air path. Check where the filter sits, how air reaches it, and how the pipework and mounting points match your car. Filter size or an impressive cover does not establish the result you will get. The exact part number, its application notes and the kit’s fitting instructions give you a firmer basis for choosing a suitable version, especially when the car already has other modifications.
Comparing intake kits for a road car or weekend project? Using a Forge kit as a practical example, this guide explains what its photographs can show and which fitting details you should establish before ordering.
04/11/202619:30LLRacing
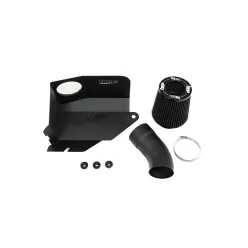
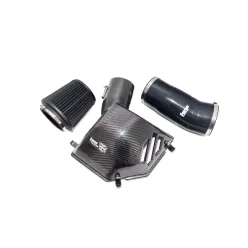
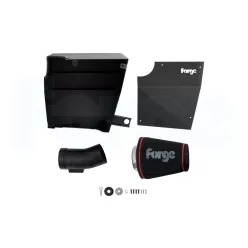
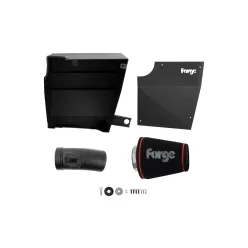
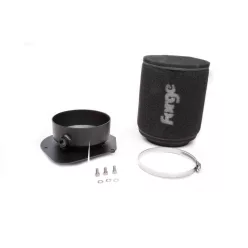
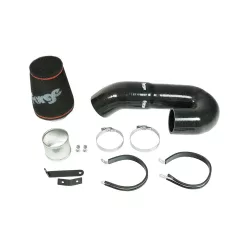
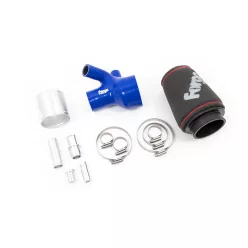
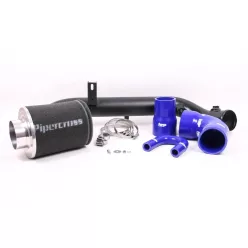
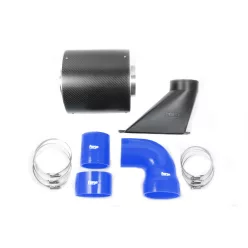
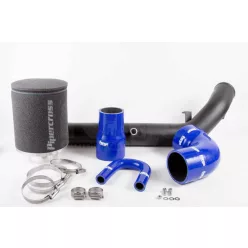
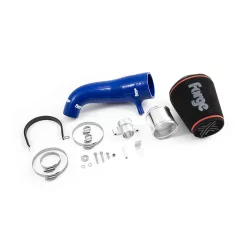
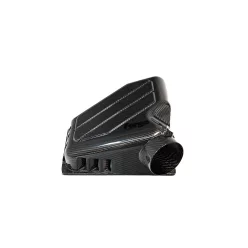
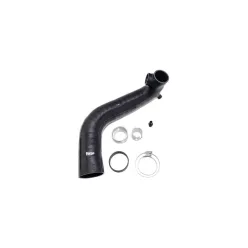
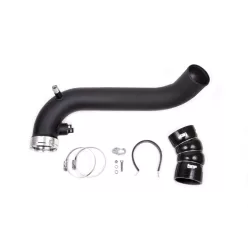
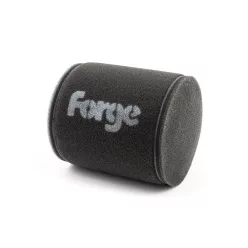
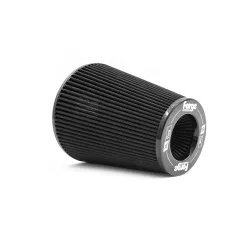
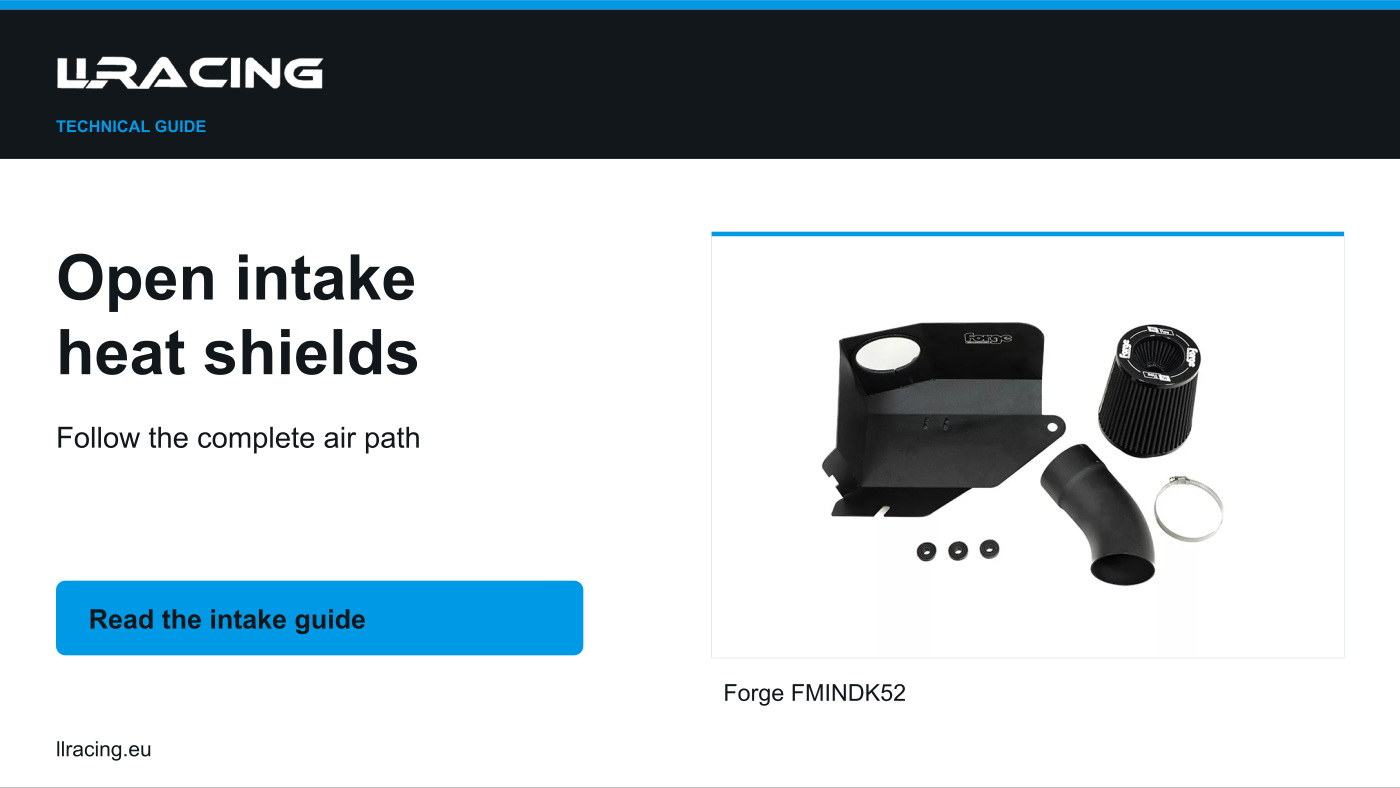
The three FMINDK52 photographs take you from the separate components to the assembled filter and shield, then to an installation in one engine bay. They show how the parts relate to one another. Fitment on your own car and any temperature change still need separate evidence.
What is an open intake?
An open intake generally places the filter outside the original enclosed airbox. An open intake heat shield or partial enclosure may shape the space around it. Product naming varies, so check the actual layout rather than relying on the word “open” alone.
This guide focuses on the heat shield and air feed of a complete intake kit. On a turbocharged engine, these have a different role from the intercooler downstream of the turbocharger. Fitting a larger intercooler does not remove the need to check the intake's own layout and connections.
How should you assess an open intake heat shield?
A hot engine bay makes the air feed especially worth checking, for example in slow traffic or after prolonged idling. Look at which side of the filter the shield separates from engine heat, and how that space connects to the air feed. This does not establish a lower intake air temperature or a power gain: either result needs comparable measurements.
The Forge FMINDK52 provides a concrete example. For this kit, Forge describes the shield as a barrier between the inlet tract and radiant engine heat, with a further role in directing air towards the filter. The separate components and assembled layout can both be seen in the product photographs.
FMINDK52 is designed for selected VAG 1.0 TSI applications. Compare your exact model, engine and model year with the FMINDK52 fitment information. If a detail remains unclear, contact us before ordering with the part number and your vehicle details.
The panel shape, filter position and connecting pipe belong to the same design. An opening or cut-out is therefore something to understand in the context of the kit, rather than automatically close off. Check how the manufacturer intends air to reach the filter and how the assembly should sit in the car.
The material used for an open intake heat shield does not, by itself, establish the effectiveness of the complete intake. A carbon-fibre cover or a distinctive coating is not, by itself, proof of a particular power increase. What matters for your car is the complete layout and correct application.
How should you choose an open intake?
A shared model name or engine family does not guarantee that two kits have the same fittings. Establish the vehicle version and engine details, then compare the notes attached to the exact part number. If the car has been modified, include the parts currently fitted rather than relying only on its original specification.
Air feed and filter position
Look at where the filter sits and how the kit meets the car's air feed. The fitting instructions and an installed photograph help explain the arrangement together. Do not add a homemade closure or another opening simply because a different vehicle uses a different design.
Sensors and additional connections
Check the sensor housings, auxiliary connections and hoses against the individual product information. Air-metering layouts are not identical across all cars. A pipe with a similar diameter does not establish that the sensor arrangement and the remaining connections will also match.
Brackets and engine-bay space
Use the supports and mounting points specified in the fitting instructions rather than treating them as optional. Check the actual supplied hardware and any original parts that the instructions require you to reuse. Follow the kit's instructions when checking the nearby hoses, wiring and covers. A clearance quoted for a different intake should not become a universal clearance for yours.
Variant and supplied components
Filter type, an additional adaptor or a different connection may affect the choice. Use the application information for the part number you are considering. The requirements of another Forge kit cannot be inferred from the FMINDK52 example.
Where an adaptor or hose is listed separately, establish whether your installation needs it and what the selected variant actually includes. Use the product details alongside the current instructions supplied for the kit when discussing the complete order.
Four assumptions worth checking
Appearance and sound can draw attention away from the details you can establish. Check these common conclusions against the information for the actual kit.
“A larger filter shows that the intake will perform better.”
Filter size is one detail. The air path, connections and evidence for the particular kit still need attention. A photograph does not tell you how much power your own car will gain.
“More induction noise confirms a power increase.”
A change in sound and a measured change in output are different observations. When looking at manufacturer testing, check the test car, additional components and conditions. A result for one combination is not automatically a result for another.
“One IAT reading settles the comparison.”
Intake air temperature readings need context. Establish where the measurement was taken and what the conditions were. Different sensor positions, ambient temperatures or loads can make two figures unsuitable for a direct comparison. Understand the measurement before using it to judge the intake.
“Once the shield is fitted, the remaining details matter less.”
The shield is one part of the system. If the car behaves differently after installation, have the fitment and assembly checked first. An uneven idle, warning light or loss of performance does not identify one component as the cause on its own.
Your pre-order intake checklist
Bring the following details together before ordering. An unresolved fitting question is easier to discuss while the existing intake is still in place.
Before you order
Establish this
Compare before ordering
Car and engine
Exact vehicle version, model year and engine details, including existing modifications.
Part number and variant
The chosen kit’s application notes and the available configuration.
Air path
The air feed, filter position and shield arrangement specified for the kit.
Connections
Relevant sensors, auxiliary connections, hoses and any separate adaptor.
Mounting points
The specified brackets and mounting points, including supplied hardware and any parts to reuse.
Supplied components
What the selected order includes and which additional parts, if any, it requires.
Frequently asked questions
These are useful questions to resolve when comparing a shield and its intended intake kit.
Can the same heat shield be used with every open intake?
Check the shield against the particular kit and engine-bay layout. A similar shape does not establish that a part designed for another car or pipe arrangement is suitable.
Is a more enclosed airbox always the better choice?
Assess the complete air path, application and documentation for each kit. The labels open and enclosed do not replace that information.
What information should I provide if fitment is unclear?
Send the exact vehicle and engine details, the proposed part number and, for a modified car, a clear description or useful photograph of the current inlet arrangement. That gives us a specific combination to discuss.
Choose around the complete air path
Assess an open intake heat shield as part of the whole kit. Follow the route to the filter, establish the shield's position, then compare the connections and application notes with your car. Once those details are clear, you have a firmer basis for choosing the right variant.