
An exhaust clamp (pipe clamp) is used to secure, join or serviceably hold sections of exhaust tubing, so it plays an important role in installation access and in how calmly the system is supported. This category mainly covers S-Clamp and U-Clamp versions.
The right clamp depends on pipe outside diameter, joint style and available clearance; this page typically includes sizes from 42 mm to 125 mm. Before final tightening, always check that the clamp is not forcing a stressed tube section into place, because that can disturb the joint later.
Filter by size, then use the product card to confirm the exact diameter and design. Verify exact dimensions and specifications on the product card; in-stock items dispatch fast within the EU.
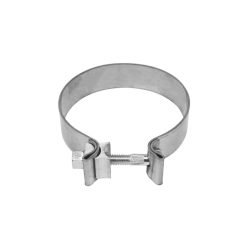
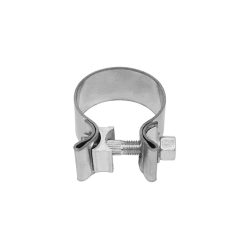
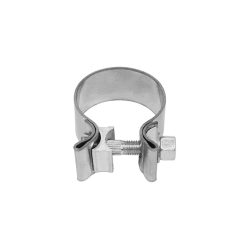
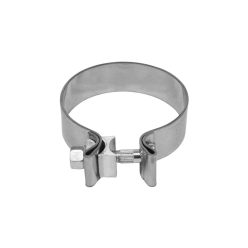


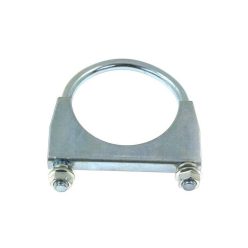


Exhaust clamps: for stable joints and serviceable pipe connections
An exhaust pipe clamp is the hardware many builders simply call a clamp, but the job is broader than tightening two parts together: it also affects load distribution, access for later service and how naturally the system sits once the hangers take the weight. The correct choice depends on real outside diameter, joint layout and tool clearance rather than on the product name alone.
Technical background and system integration
S-Clamp profile: An S-Clamp style can be useful where a more compact outer shape helps around the floor, heat shielding or nearby chassis parts. In tighter packaging, that external profile may matter as much as nominal size.
U-Clamp profile: A U-Clamp is a more traditional clamp format often used for straightforward exhaust joining tasks. The better fit depends on pipe shape, access for tightening and how often you expect to revisit the connection.
Load distribution: A well-matched clamp can help the joint share force more evenly instead of concentrating stress at one awkward point. That becomes more relevant when the system includes short rigid sections or a more active engine movement pattern.
Service access: Clamp design and bolt access influence how easy it is to inspect, reposition or retighten the joint later. In some builds, that practical access is more valuable than a small price difference.
- Size range: This page covers sizes around 42, 48, 51, 52, 54, 58, 60, 63, 65, 70, 76, 80, 89, 101 and 125 mm, so start by measuring the real outside diameter of your exhaust tube.
- Design: S-Clamp and U-Clamp versions do not sit on the pipe in the same way, which means pipe-end condition and joint type both influence the better starting option.
- Clearance: Do not only check the clamp body; also confirm that a socket or spanner can actually reach the fasteners once the exhaust is in place.
- Serviceability: If the system is likely to be opened again, it helps to choose a format that is easier to inspect and retighten without disturbing surrounding parts.
How to choose the right one
Diameter first: Do not rely only on a nominal pipe size or an old purchase note; measure the real outside diameter where the clamp will work. On exhaust systems, even a small size mismatch can affect how evenly the joint seats.
Joint logic: Decide first whether you are securing a slipped joint, a simple sleeve-style connection or a more service-friendly section. That quickly narrows the choice between S-Clamp and U-Clamp styles.
Practical check: If you are between two sizes, confirm your actual tube outside diameter with calipers before committing to the clamp shown on the product card.
Installation and failure-prevention tips
Clean seating: Before assembly, inspect the pipe ends for deformation, burrs or an uneven cut. In this mechanical category, clean threads, an even tightening sequence and a properly supported tube section matter more than any universal torque figure.
Common issue: If the clamp is used to pull a side-loaded tube section into place, the joint may shift later, resonance may appear, or soot can show around the connection. This is often reduced by aligning the pipe in a neutral position first, checking the hangers and only then tightening the joint fully.
Recheck after heat: After the first heat cycles, it is worth inspecting whether the tube position has changed, whether tool access still exists and whether the seating surfaces show any witness marks. That makes it easier to catch the need for a small repositioning early.
PRO TIP: When the system has several separable joints, loosely assemble everything without preload first and then finalise the positions from the rear section forward; that usually reduces the chance of locking stress into the exhaust layout.
Frequently asked questions
What is the difference between an S-Clamp and a U-Clamp?
The main differences are shape, seating behaviour and packaging space. The better option depends on the joint layout, available access and whether you want easier future disassembly.
Is nominal size enough to choose the right clamp?
Not really. Real outside diameter, pipe-end condition and the type of joint being clamped all influence whether the fit will be clean and consistent.
What is the most common failure or installation mistake?
Work through a simple sequence: measure outside diameter, inspect pipe roundness, confirm tool access and then review hanger position and neutral pipe routing. If the connection only lines up when the tube is forced sideways, correct the route before final tightening.
Can an exhaust clamp be used for a final joint or only a temporary one?
That depends on the joint design and on the wider exhaust layout. In many cases a clamp gives good serviceability, but the final decision should be based on pipe-end form, sealing needs and the rest of the system plan.
How can I quickly check whether the chosen clamp will fit properly?
Look at real tube diameter, pipe-end condition, tool access and whether the joint stays neutral once the hangers support the exhaust. That quickly shows whether the remaining issue is size, geometry or installation access.
