
The Chevrolet performance intake systems (complete intake kits) category brings together model-specific intake-side packages where the pipework, filter housing and connection points are arranged for a given Chevrolet platform.
You will typically find AEM, K&N, SIMOTA and SLIDE options here, so the best choice depends on the installation space, the connection layout and the compatibility details shown on the product card.
As a preventive step, check engine-bay clearance, pipe routing and sensor locations before ordering so the system can sit without stress. Verify exact dimensions and specifications on the product card; in-stock items dispatch fast within the EU.
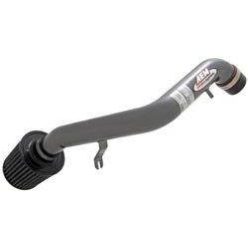
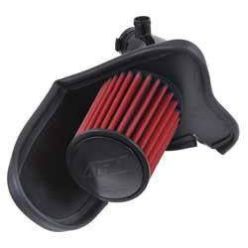
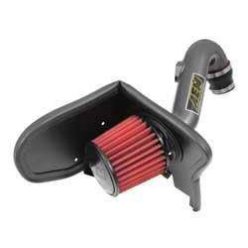
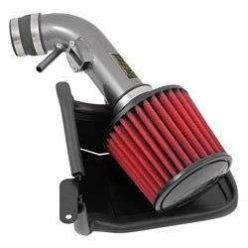
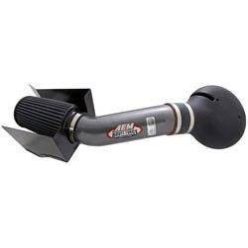
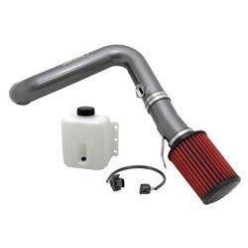
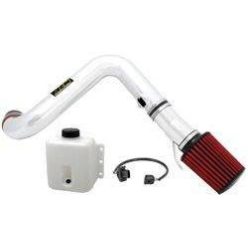
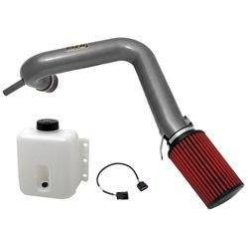
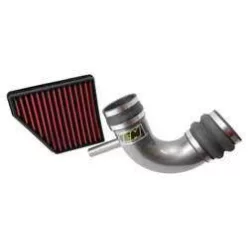
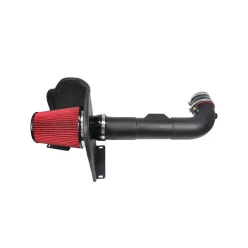
Net price: 225 €
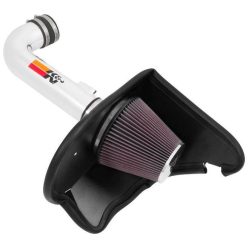
Net price: 577 €
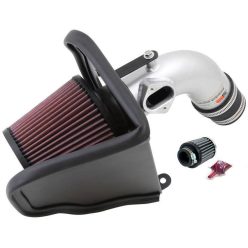
Net price: 577 €
Chevrolet Performance Intake Systems & Airboxes – Intake Packages Matched to the Platform
Chevrolet intake and airbox packages sit within the same performance intake system family, where a platform-matched layout helps the pipework, filter position and connection points work together with less installation compromise. This category is not about a generic tube alone; it focuses on assemblies that are closer to the packaging logic of a specific Chevrolet engine bay.
A well-chosen system is not only about appearance, but about a cleaner intake path, tidier placement around nearby parts and a more coherent relationship between clamps, sensor points, hose runs and surrounding trim. The visible range currently includes AEM, K&N, SIMOTA and SLIDE options, with examples linked to Corvette, Camaro, Sonic and Silverado 1500 applications.
Technical background and system layout
The intake-side logic here comes from the combination of pipe routing, filter or airbox position, and the way brackets, sensors and joining points are arranged. When only one of those factors matches, installation can still become awkward, which may lead to extra stress in the pipework, poorer access or less tidy packaging in the bay.
Heat management also matters because a more open system, a shielded design and an airbox-style package will not behave in exactly the same way in different parts of the engine bay. On Chevrolet applications it is worth checking not only the route of the pipe, but also where the filter sits and whether enough room remains for engine movement, wiring and nearby covers.
- Connection: confirm that the kit layout suits the original joining points and transitions in a sensible way.
- Sensor ports: check that sensors and auxiliary lines can be integrated without improvised positioning.
- Clearance: leave serviceable space around the full pipe curve, housing and clamps.
How to choose the right one
The fitment check should begin with the platform, engine version and the compatibility notes shown on the product card, not with the brand name alone. On Chevrolet applications, similar-looking bays do not always mean identical routing, so the application text usually gives a safer starting point than the photo by itself.
If you are comparing closely related Chevrolet platforms, matching the pipe route, sensor positions and free engine-bay space will usually narrow the choice faster than relying on model name alone.
The product card should be used to confirm system type, brand, compatibility wording, visible layout and whether a more open intake, a more shielded arrangement or an airbox-style package suits the target build better. On this leaf-style page, that is the dependable route because the task is to identify the correct Chevrolet-specific system rather than to pick a broader subcategory.
Installation and failure-prevention tips
A careful test fit before final tightening can prevent a lot of unnecessary adjustment later. Check how evenly the pipe seats on the joins, whether the clamps remain accessible, whether any section is being pulled into tension, and whether the assembly sits too close to a point where vibration or thermal movement could bring it into contact with another part.
On air-side connections, Degrease using a manufacturer-recommended cleaner, then allow to dry completely before applying load/boost. That helps the mating surfaces start from a cleaner and more even condition before final clamping.
A common mistake is assuming that a system fitting the stated model is enough on its own, without checking sensor locations, full pipe sweep and the space around the housing in advance. In that situation the join may go on, yet the pipe can rotate slightly, the clamp may end up in a poor access position, or the assembly may sit too close to a cover, cable or warmer component.
The post-fit check should happen after the first full heat cycle: inspect clamp position, seating at the joins, cable and hose clearance, and whether the system has shifted once initial vibration and expansion have been introduced. This is especially worthwhile in tighter Chevrolet engine bays.
PRO TIP: On Chevrolet applications, confirm compatibility and pipe-route images first, then compare price or brand.
FAQ
What is this Chevrolet category for?
This page groups complete intake systems and airbox solutions intended for Chevrolet applications, so you can review platform-relevant intake packages in one place. The main focus is fitment and product-card compatibility.
How is an airbox-style package different from an open intake kit?
An airbox-style layout usually aims for a tidier, more shielded environment, while an open system may need a different type of engine-bay placement. The better direction depends on available space and on what suits the Chevrolet platform more naturally.
What inspection order should I use if the installed result does not look quite right?
Start with join seating, then review sensor and auxiliary-line position, followed by clamp access and the distance to nearby parts. Finish with a warm inspection to confirm the system still sits in a calm, stress-free position.
Is choosing by Chevrolet brand name alone enough?
It is better not to rely on brand name only. Platform, engine version, model-year range and the compatibility notes on the product card together provide a safer basis.
What should I check after first use?
Inspect the clamps, pipe joins, the area around sensors and the gaps to nearby covers or lines. That makes it easier to spot a tight point early and correct it before it becomes more awkward to access.
