
Universal exhaust flanges (exhaust flanges) are 2- and 3-bolt exhaust connectors used to join pipe sections in a serviceable way while helping the gasket sit on a controlled clamping surface. In this category you will typically find 2- and 3-bolt flanges and matching gaskets across 51-89 mm and 2.5-3 inch size ranges.
To choose the correct part, compare pipe size, bolt count and flange style together, because fit at the joint matters just as much as nominal diameter. As a preventive check, confirm the bolt pattern, gasket shape and whether the exhaust sits naturally on its hangers before ordering.
Verify exact dimensions and specifications on the product card; in-stock items dispatch fast within the EU.
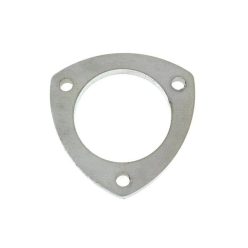
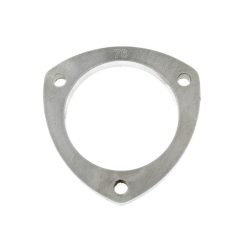
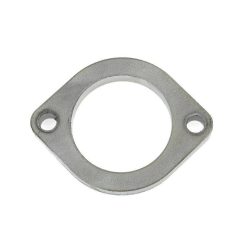
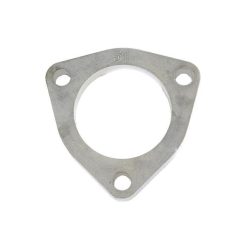
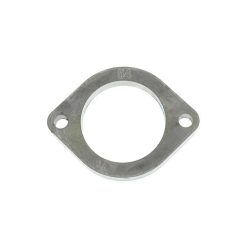
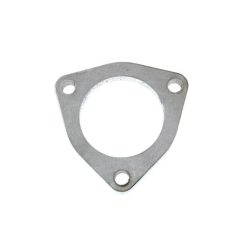
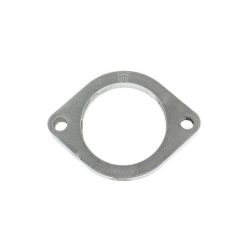
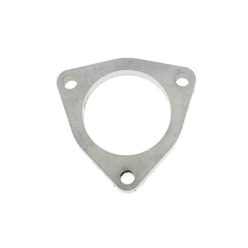
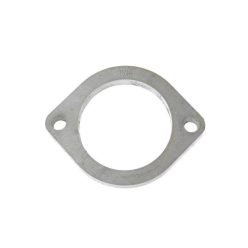
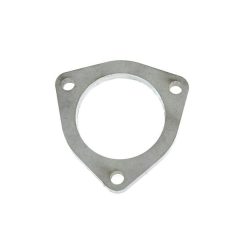
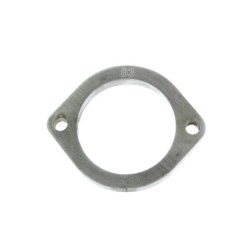
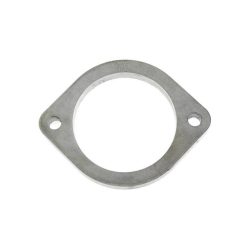
Universal Exhaust Flanges for Accurate and Serviceable Exhaust Joints
The universal exhaust flanges in this category are often searched by builders simply as exhaust flanges. Their role is not only to connect two pipe sections, but also to give the gasket a proper seating face, keep the joint serviceable and reduce unnecessary side load when the exhaust moves through heat cycles.
Technical background and system integration
These products are mainly universal connectors, so selection should always be based on the real exhaust geometry on the car. Two- and three-bolt layouts bring different packaging, access and clamping behaviour, which is why nominal diameter alone is not enough for a clean choice.
The category also includes matching gaskets, which matters because sealing quality does not depend on bolt tightening alone. Flat mating faces, correct joint angle, gasket profile and the natural position of the exhaust on its hangers all influence how evenly the load is applied.
Typical sizes here include 51-89 mm as well as 2.5 inch and 3 inch options. When choosing a flange, compare the real pipe size, the outer shape of the mating part and the space around the joint, because exhaust stiffness and thermal movement both affect how the connection behaves in use.
- Size: compare the true pipe diameter with the nominal flange size on the product card.
- Bolt count: match the 2- or 3-bolt layout to the mating flange already on the system.
- Gasket: gasket shape and hole pattern are just as important as the mm or inch size.
How to choose the right one?
Quick selection guide: measure the pipe diameter first, then confirm whether the mating side is 2-bolt or 3-bolt, and finally compare the gasket profile as well. When repairing an existing joint, the old flange and gasket imprint often reveal the correct layout faster than the nominal size alone.
The most useful filter routine is to narrow by mm or inch size first, then compare bolt count and the visible flange design on the product image. In this category it is especially helpful to measure the existing mating flange and the corresponding gasket before ordering.
- For repairs: identify bolt count and gasket profile from the existing joint before choosing a replacement.
- For custom builds: leave enough tool and spanner access around the bolts and nuts.
- In tight space: confirm that bolt heads and nuts will remain reachable after installation.
Installation and failure-prevention tips
Clean faces matter because even a well-sized flange cannot seat properly on dirty or uneven surfaces. Before assembly, clean the mating faces, inspect flatness and check thread condition; damaged threads or bolts starting at an angle can make the clamping load uneven.
Tightening sequence should be gradual and alternating from side to side so the gasket is not pulled off-centre. If the manufacturer provides fitting data, follow it; if not, avoid fast one-sided tightening and only finalise the joint when the exhaust is sitting naturally on its hangers.
PRO TIP: When several same-size flange options seem possible, the final decision is often made not by diameter but by bolt access and by how easily the correct gasket can be sourced with it.
FAQ
What is the most common failure or installation mistake?
The most common problem is tightening the flange while the exhaust is slightly misaligned or held in a stressed position. Typical signs are a blowing sound, soot around the joint or a gasket that loses even seating early, so mating-face flatness, hanger position and gradual tightening should be checked together.
Should I choose a 2-bolt or 3-bolt flange?
If you are matching an existing mating part, it is usually best to keep the same bolt count because the joint geometry and gasket shape depend on it. On a custom build, packaging space, access for tools and the pipe route will usually decide which layout is more practical.
Can I replace only the flange and keep the old gasket?
If the joint is already apart, it is wise to inspect the gasket closely and replace it when needed because the old compression imprint may not suit the new flange face well. This is especially relevant when the previous joint showed soot marks or uneven sealing.
How do I know the stated size will really fit?
Start from the true diameter of your own pipe and compare it with the size stated on the product card. Then confirm bolt layout, flange shape and the amount of clearance left around the joint once the exhaust is installed.
What checklist should I run before first start-up?
Check mating faces, straight bolt seating, gasket position and the natural position of the exhaust hangers. After first heat cycle, inspect again for leaks, soot marks, resonance and whether the joint has settled in a way that changes bolt access or flange alignment.
