
A hump silicone coupler (HU: púpos szilikon összekötő idom; also called a hump hose coupler) joins two pipe ends in a straight run while, depending on design, helping accommodate vibration and small misalignment. It’s often used in turbo/intercooler charge-air, air and some coolant runs to protect sealing surfaces and reduce stress on hard parts.
Select by ID, overall length and version-specific build (reinforcement/lining depends on model). Verify exact dimensions and specifications on the product card; in-stock items dispatch fast within the EU.
Filter by size first, then confirm insertion depth and clamp zones on the product card.
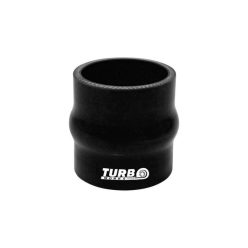
Net price: 4 €
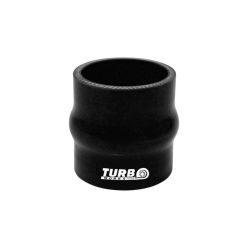
Net price: 4 €
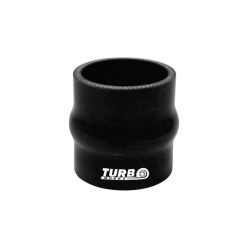
Net price: 4 €
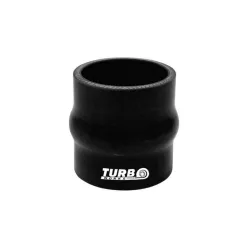
Net price: 5 €
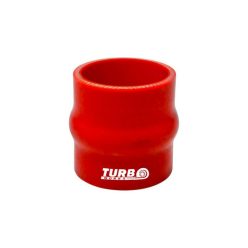
Net price: 5 €
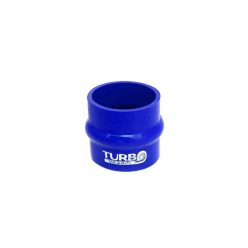
Net price: 6 €
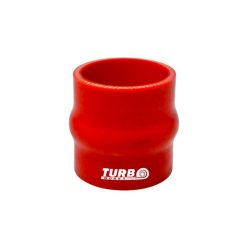
Net price: 6 €
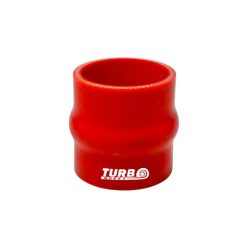
Net price: 7 €
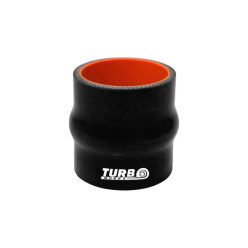
Net price: 4 €
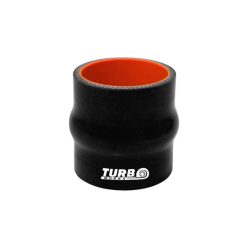
Net price: 5 €
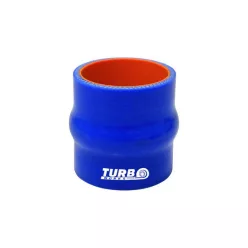
Net price: 5 €
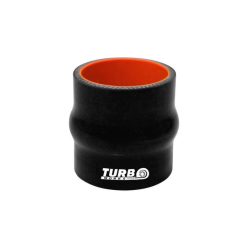
Net price: 6 €
Hump Silicone Couplers – Straight Connections with Added Compliance
A hump hose coupler (hump silicone coupler; HU: púpos összekötő) is a straight connector with a raised “hump” section that can, depending on version, help manage vibration, thermal movement and small axis misalignment. It’s a practical option when two rigid pipe sections need a joint that’s less prone to constant side-load.
Technical background and system integration
Hump couplers are typically textile-reinforced silicone; wall thickness, ply build and any internal lining depend on the specific version. Reliable sealing comes from clean pipe ends, clamp seating on straight end sections, and giving the hump enough clearance to “work” without rubbing nearby parts. For oily charge-air routing, some variants use a lining (e.g., fluoro-lined options); for coolant circuits, clean mating surfaces and accessible clamping matter most.
- ID sizing: match ID to pipe OD and clamp range.
- Overall length: ensure enough insertion depth on both ends.
- Hump clearance: avoid contact with brackets, fans, shrouds or sharp edges.
- Clamps: worm-drive, T-bolt or constant-tension options may suit different access and duty; stainless can help in wet areas.
How to choose the right one
As a LEAF category, measure pipe outside diameter, then choose the matching coupler ID (common inch sizes with mm useful for precision). Check overall length and confirm both ends provide a straight clamp zone, while the hump section has clearance and isn’t pre-compressed in the installed position. If your routing needs elbows or reducers instead, compare shapes in the Silicone Elbows and Reducers parent category.
- Fitment logic: OD measurement → coupler ID → clamp range confirmation.
- Packaging: clearance around the hump and tool access for clamps.
- Pipe-end prep: deburr and inspect; beaded ends can improve retention depending on duty.
- Medium: charge-air/intake vs coolant vs vacuum; choose lining/compound options as relevant.
Installation and failure-prevention tips
Dry-fit the joint so the coupler sits neutral, then place clamps on the straight ends (not on the hump). degrease using a manufacturer-recommended cleaner, then allow to dry completely before applying load/boost. To standardise sizing across multiple silicone parts, reviewing Silicone Elbows and Reducers can help keep geometry consistent.
Failure mode: clamping on the hump section or leaving excessive misalignment can cause light weeping, oily residue in charge-air runs, or a faint hiss under load; prevent it by clamping only on straight ends, improving pipe alignment where possible, and re-checking clamp seating after initial heat cycles.
PRO TIP: If you’re using a hump coupler to handle misalignment, optimise mechanical pipe supports first—then let the hump manage the remaining movement.
FAQ
What is a hump silicone coupler used for?
It joins two pipe ends in a straight run and, depending on design, helps accommodate vibration and small misalignment.
What’s the most common installation mistake?
Clamping on the hump section or leaving the coupler under constant side-load; see the Installation section for prevention steps.
Hump coupler vs plain straight coupler: which should I choose?
Choose a hump coupler when small movement/misalignment is expected; a plain straight coupler is simpler when everything lines up cleanly.
How do I size it correctly?
Measure pipe OD, choose matching ID, then confirm overall length and straight clamp zones on the product card.
Quick diagnostic checklist
Correct ID, enough insertion depth, clamps on straight ends, clearance around the hump, neutral alignment, and sufficient tool access.
