
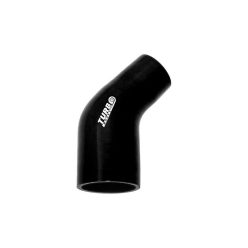
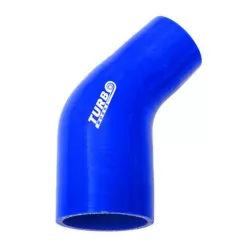
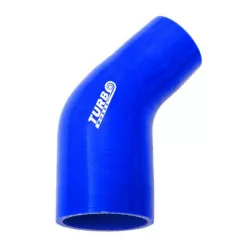
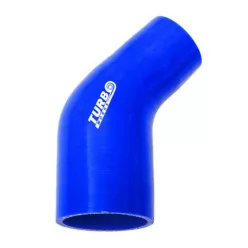
A 45-degree silicone reducer elbow (HU: 45°-os szilikon szűkítő idom; also called a reducing elbow) joins two different pipe sizes while adding a gentle direction change when space won’t allow multiple parts. It’s commonly used in turbo/intercooler charge-air, coolant and air routing to help joints cope with vibration and thermal movement.
Select by both IDs, leg lengths and version-specific build (reinforcement/lining depends on model) so clamps can sit on a proper sealing band. Verify exact dimensions and specifications on the product card; in-stock items dispatch fast within the EU.
Filter by size pair first, then confirm exact dimensions on the product card before ordering.
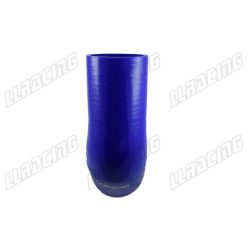
Net price: 10 €
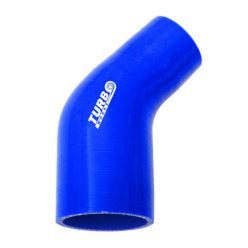
Net price: 6 €
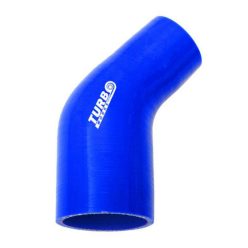
Net price: 6 €
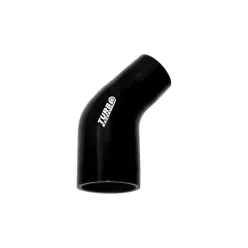
Net price: 8 €
Net price: 8 €
Net price: 8 €
Net price: 9 €
Net price: 9 €
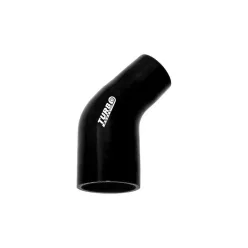
Net price: 9 €
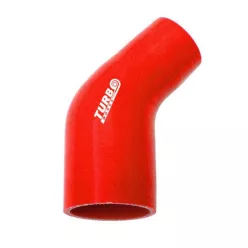
Net price: 9 €
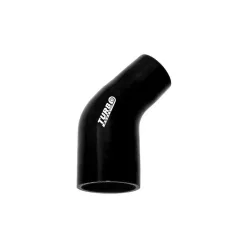
Net price: 10 €
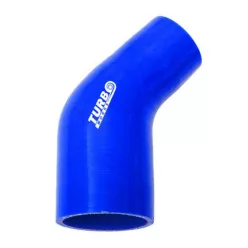
Net price: 10 €
45 Degree Silicone Reducer Elbows – Size Change with a Gentle Turn
A 45-degree silicone reducing elbow (silicone reducer elbow; HU: szűkítő 45° idom) combines a diameter transition and a direction change in one compact part. It’s useful when you want a smoother routing path and there’s not enough room to stack a straight reducer and an elbow. Depending on layout, the 45° angle can make it easier to keep the joint neutral so the clamp load stays even.
Technical background and system integration
These parts are typically textile-reinforced silicone; wall thickness, ply structure and optional internal lining depend on the specific version. For reliable sealing, focus on the size pair (small-end and large-end ID), the transition length, and how the clamps sit on the straight legs. Beaded pipe ends can improve retention, while burrs or sharp edges can damage the sealing band. In oily charge-air environments, some variants use a lining (e.g., fluoro-lined options); for coolant circuits, clean mating surfaces and a suitable compound for the application matter most.
- Small end / large end: always confirm both IDs (inch sizes are common; mm can help refine fit).
- 45° geometry: often helps with packaging and alignment versus sharper turns.
- Straight legs: ensure enough length for the clamp to load the sealing zone evenly.
- Clamps: stainless options help in wet environments; clamp style depends on access and duty.
How to choose the right one
Measure the outside diameter of each pipe end, then pick a 45° reducer elbow whose both IDs match those ODs when clamped (and whose clamp ranges cover each end). Check available space and routing: the 45° angle often allows a more gradual path so you can avoid twisting the elbow in installation. If you need other angles or alternative reducer shapes, browse the parent Silicone Elbows and Reducers category to compare options across sizes and geometries.
- Fitment logic: OD-to-ID match plus clamp range on both ends.
- Leg length: enough straight section for secure clamping on both sides.
- Medium: charge-air/intake vs coolant vs vacuum; choose lining/compound options as relevant.
- Bend radius: ensure the elbow won’t be forced into twist once tightened.
Installation and failure-prevention tips
Dry-fit the pipework so the reducer elbow sits without constant twist or side-load, then position clamps on the straight legs (not on the bend). Pay extra attention to the smaller end: the clamp should sit fully on the sealing band and not ride near an edge. degrease using a manufacturer-recommended cleaner, then allow to dry completely before applying load/boost. Avoid petroleum-based sprays and harsh solvents (e.g., WD-40 or brake cleaner) on silicone surfaces.
- Surface prep: deburr and clean pipe ends to protect the sealing band.
- Clamp placement: aim for the middle of the straight leg on each side.
- Heat-cycle check: re-inspect after the first operating cycle and adjust if needed.
PRO TIP: When joining different pipe materials (e.g., aluminium to plastic), choose a clamp style and band width that, depending on access, can spread load more evenly across the silicone.
FAQ
What is the most common failure or installation mistake?
A common mistake is installing the 45° reducer elbow under tension so one clamp side loads harder than the other, which can lead to seepage or slip; signs include light weeping at the joint, oily residue in charge-air runs, or a hiss under load. Prevent it by setting neutral alignment first, ensuring enough straight leg on both ends, using correct clamp ranges, and re-checking after heat cycles.
When is a 45° reducer better than a straight reducer?
Choose a 45° reducer when you also need to change direction and don’t have space for two separate parts, or when a gentler angle helps alignment. A straight reducer is often simpler when you only need a size transition and have enough straight run length.
45° vs 90° reducer elbow: what’s the difference?
A 45° reducer typically provides a smoother turn that can make neutral alignment easier. A 90° reducer gives a bigger direction change in less space, which helps tight packaging but can be less forgiving if routing forces twist. In both cases, leg length and clamp seating on the sealing band are key.
Which clamp should I use on a silicone reducer elbow?
Depending on access and duty, worm-drive, T-bolt or constant-tension clamps can work; prioritize even pressure and correct size range on both ends. Stainless clamps are useful in wet environments, but always check the band edges won’t cut into the silicone and that the clamp sits fully on the sealing zone.
Quick fitment checklist
Confirm both pipe ODs, both reducer IDs, clamp ranges, and that there’s enough straight leg for secure clamping. Check clearance to sharp edges or moving parts and confirm the 45° orientation matches your routing without forcing twist. Use the product card dimensions to select the exact variant.
